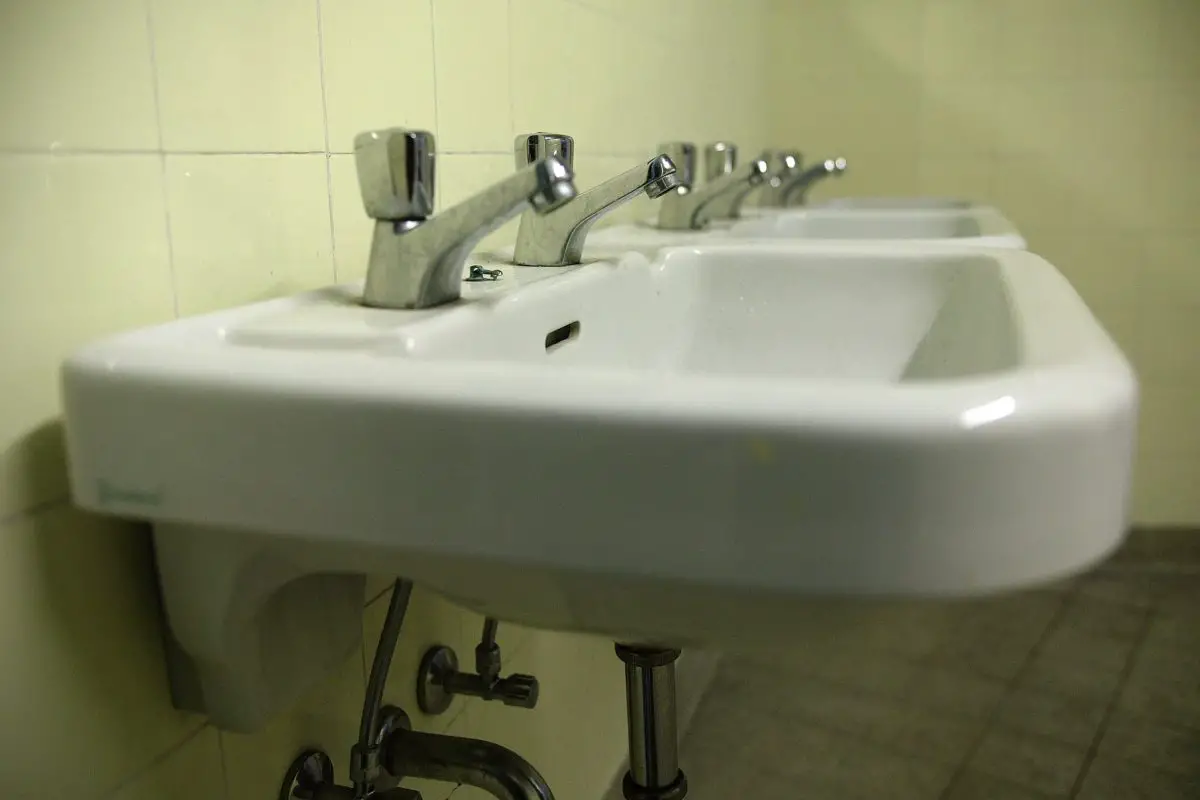
Many of us have a sink or some form of bathroom or kitchen accessories that are made up of porcelain. Many companies in the world make many bathroom accessories using porcelain. Accessories like bathroom and kitchen sinks, toilets, shower cubicles, bathtubs, are all made from porcelain, even some tiles that you use all around the house are made up of porcelain as well. The thing is that porcelain is a very versatile material that is used in a lot of places around the house, and most people don’t even know about it, so today we are going to be teaching you more about porcelain, and how you can fix a hole or a crack in a porcelain sink.
What Is Porcelain?
Porcelain is a ceramic material that is made when certain types of materials are heated to extreme heats and cooled over time. Porcelain is a smooth translucent material that is super glossy and majorly strong. It is liquid in the state until it is applied to ceramic materials and heated in a kiln. Once heated and cured, porcelain makes a beautiful finish on which it was applied.
As beautiful as it is, porcelain takes on some properties of ceramic that are not desirable. Like ceramic, Porcelain is also susceptible to cracking and chipping and there can nothing be done to avoid it, so if it breaks it breaks. But there is a way to make repairs on porcelain, and today we are going to be showing you how.
Step 1: Prepare the Surface
This is a very important step as the final finish of the repair job will depend on it. What you have to do is firstly clean the crack or the hole that you have to fix, you can poke in it with some tool and get all the loose pieces out. Once all the loose pieces are out sand the crack or hole until it is smooth. Once done clean it again to get all the oils, dirt, and debris out of the repair area, you can use acetone or isopropyl alcohol to do this step. Once all the cracks are sanded and cleaned, the next step begins.
Step 2: Apply Porcelain Repair Kit
The next step is to use a porcelain repair kit to fill the hole or the crack with the repair kit mixture, these repair kits are available everywhere and in multiple colors so choose the color that matches your sink. Follow the manufactures instructions and mix a batch of repair kit mix. Once prepared, apply it onto the surface and use a straight blade to get the excess mixture off the sink.
Step 3: Clean and Finish
The last step is to clean all the remaining mixture from the sink and let it dry for the manufacturer’s recommended time. To clean it up you can use acetone or isopropyl alcohol and clean all the excess residue off the sink, once done let it dry for the recommended amount of time and then you will be done.
